Milpitas Fence Contractor Can Be Fun For Everyone
Wiki Article
The smart Trick of Pergola Intallation Milpitas That Nobody is Discussing
Table of ContentsGet This Report about Milpitas Fence ContractorExcitement About Milpitas Fence ContractorThe Only Guide for Milpitas Fence ContractorGetting The Pergola Intallation Milpitas To WorkExamine This Report about Pergola Intallation MilpitasThe 5-Minute Rule for Wood Fence Installation Milpitas
To surprise your deck boards, lay the first full deck board down, after that lay the following one down, making certain it butts up against the complete board. Cut this piece to fit, then take the other half of the board you didn't make use of and also start your 2nd row of decking with it besides the very first full piece.Both ends of your deck boards will end on a joist. You want each side to overhang to shield the joists. This makes certain dampness will certainly run off the deck onto the ground rather than in addition to the deck framing. The front of your deck ought to have 1. 5" of deck board size past the joists.
A consistent deck board spacing is perhaps one of the most important visuals on a deck. Using a tool like the Camouflage Marksman Pro makes spacing deck boards easy, and you can screw your deck board in while you room the board, making your deck board installation faster.
Pergola Intallation Milpitas Fundamentals Explained
Pro Suggestion: Get a brand-new blade for your miter saw. This will minimize the amount of cut-out on your deck board finishes, making the butt joints look smoother and much less obvious. A good blade will last your whole deck task and beyond, so it's a small rate to pay for a nice-looking deck.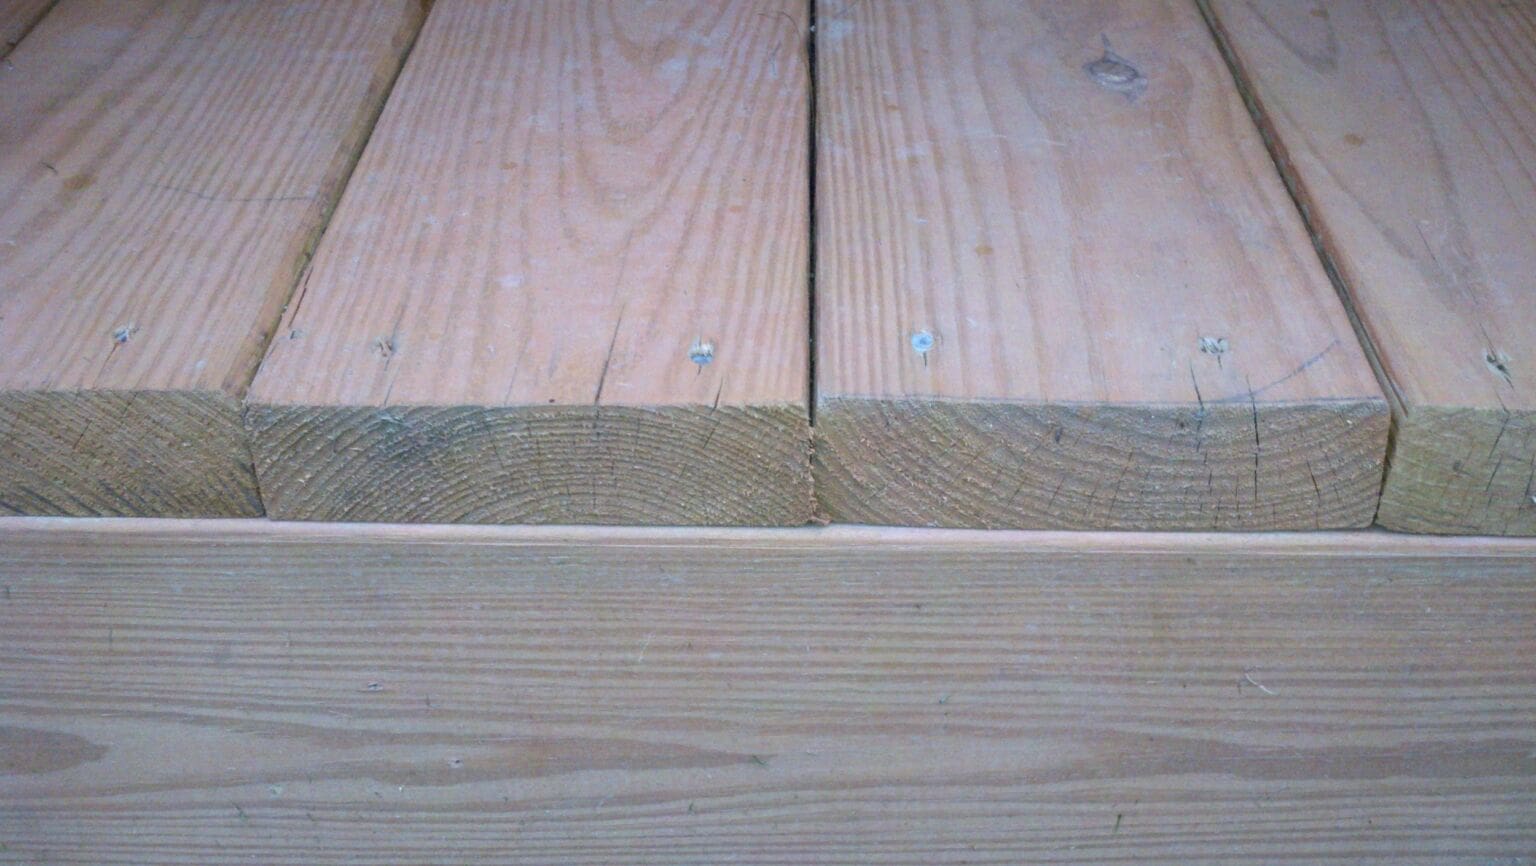
Make sure your following deck board is still" from your residence, and screw it in. Your deck board butt ends should be focused on the joist to allow adequate area for the four screws it will hold 2 from each butt end - pergola intallation milpitas. Take the deck board piece you didn't utilize from your previous cut as well as utilize it as the initial deck board for your next row.
You wish to ensure that this item ends one joist prior to the joist where your initial deck board terminated. Before you attach the board, guarantee it is" from the first row of deck boards. Usage deck board spacers or the Camo Marksman Pro system to ensure also spacing.
What Does Deck Builder Milpitas Mean?
Make use of the same procedure of reducing the deck boards, after that using their cut finishes to develop your next row, ensuring end are one joist far from the end of the previous row. This will offer you an arbitrary deck board spacing layout that will certainly look nice, visually. Remember to constantly use 2 screws per joist, and also to overlap your deck boards a minimum of 1.
Make use of a jigsaw to cut the last bit on either end, see this here as your home won't enable your circular saw to reduce the last number of inches. Full Report You might need to trim the size of your final deck board. If the width of our last deck board is even more than 1.
The 30-Second Trick For Deck Builder Milpitas
Equally as you made with the deck board finishes, procedure 1. 5" beyond the rim joist on the end of your last deck board. Make a mark. Do the very same on the various other end of the same deck board. Make use of a chalk line, make your line, as well as cut with the round saw.If so, then you'll initially require to gauge precisely where they go. As soon as you've done that, measure and also use a pencil to represent on the deck boards where the barrier posts are. Utilize a drill with a little spade bit, such as ", and make a hole inside the mark that indicates where the railing post will go.
This will prevent the deck boards from breaking. Final thought There are couple of points a lot more enjoyable than mounting brand new deck visit this website boards.
Wood Fence Installation Milpitas - An Overview

To get the ideal ended up look start installing decking boards or composite material from the outside side of the deck (pergola intallation milpitas). By doing this you can account for the" fascia board and also a 1" overhang in addition to the scratching around the barrier blog posts. Utilize a sliding bevel to figure out the angle of the barrier blog posts against the deck boards.

This means the mounted deck boards need to have at the very least 1. Making Certain Decking is Parallel Beginning by installing the very first deck board on the front outdoors edge of the deck framework.
Not known Facts About Deck Builder Milpitas
Many boards have a minor contour to them so tear the boards in line and parallel by using a chisel into one of the joists as well as levering the board better to the various other. Or use this deck lever tool to align it up in a breeze. It will conserve you dulling up your carve and also it's made flawlessly to do this task.It is really difficult as well as the least most likely to pop out over time. It additionally sands extremely well.
Report this wiki page